This is what it looked like once I took it out of its mailer.
Here it all is just out of the box.
Organization is key. It keeps you from losing the tiny, tiny screws that hold this camera together.
Ta-da! Camera complete. It took just about an hour (that's not counting the 20 min lunch break I took) to put this toy together. Considering that the instructions are all in Japanese, I'm quite happy with myself.
The Recesky is a do-it-yourself TLR camera. It is basically a clone of the Gakkenflex. It has two plastic lenses, and I think its a rather lovely contraption. Jon was impressed with just how well thought-out it was, and he had a fun time checking in on my progress.
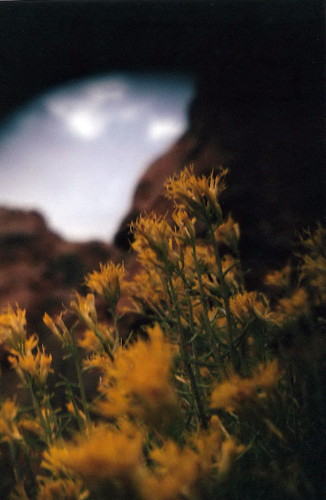
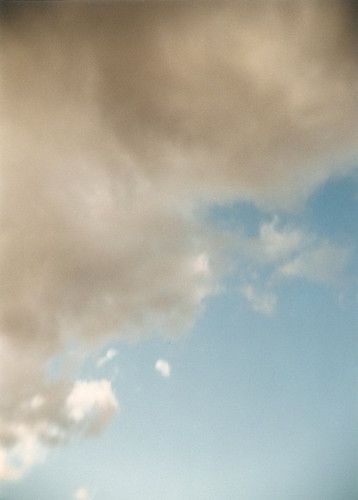
So, just as soon as it was all put together and loaded with film, I had to take it out for a spin. We went back to the Babylon area near Leeds, UT. I have more plans for this area. There are more trails to hike and scenes to take in, and many more photos to take. The day was absolutely lovely-- all stormy and windy. And it was humid! It felt like we'd been transported somewhere far from the desert. It was a fun deviation from the norm.
You can see the rest of the set HERE.


5 comments:
That's inspiring! Thanks for showing the camera in various stages, along with the beautiful pictures you made with it.
Thanks for your comment and compliment. I do enjoy my plastic lenses. My Recesky is giving me another way to see my world, and I quite enjoy that.
how you load the film into Recesky DIY Camera?
There is a great article complete with photos located HERE.
If you still have questions, let me know and I'll happily put up a tutorial of my own.
Post a Comment