But for you, I'll make an exception. I have a confession to make, I've fallen for you, Seattle. I am, at the very least, totally and completely infatuated with you. I am smitten by your history, by how nature is reclaiming you crumbling brick by brick, by how close you are to both mountain and sea, by your sites, and smells, and the people that fill you.
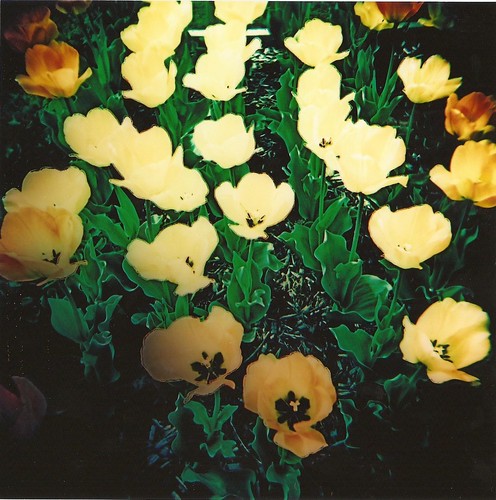
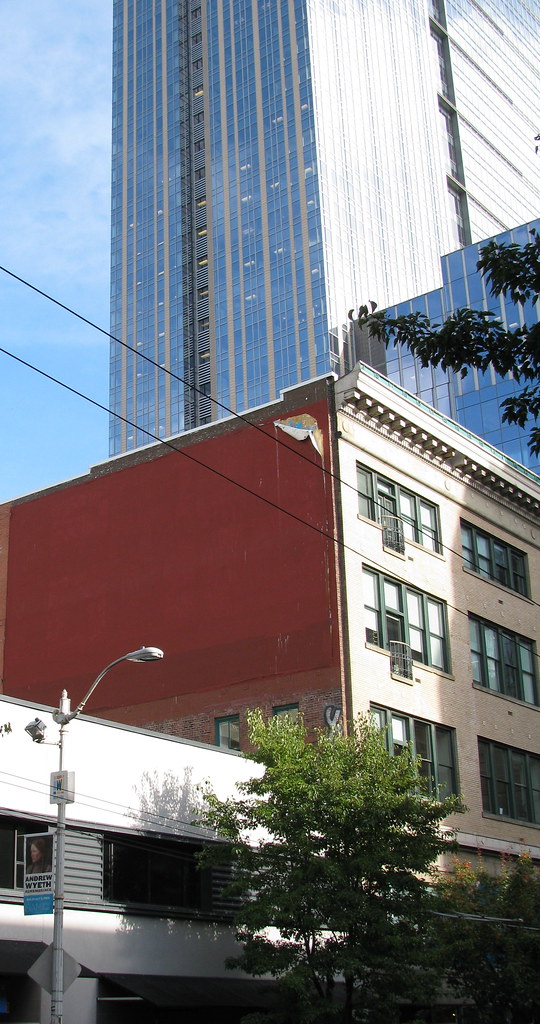
I admit to even liking your quirks. I figure that's a good sign. A sign of potential perhaps. I quite adore how wonderfully mismatched you can be--how sleek, crisp skyscrapers jut out, protectively shadowing clusters of softened, worn-in mortar and brick buildings...how in some places you have crammed yourself right up to the edges, to the brink of falling into Puget Sound, and yet you have space for parks and grass and trees and courtyards...how you can be so full of grays and yet so vibrantly colorful. And I didn't even mind that it rained each time I visited you, even though it was not my favorite kind of rain. That's sort of a big deal for me.
You are large, but still have quaint corners, full and yet somehow still roomy-- how do you do it? How do you still leave me thinking that there may yet be room within you for me?
Some day, just maybe.
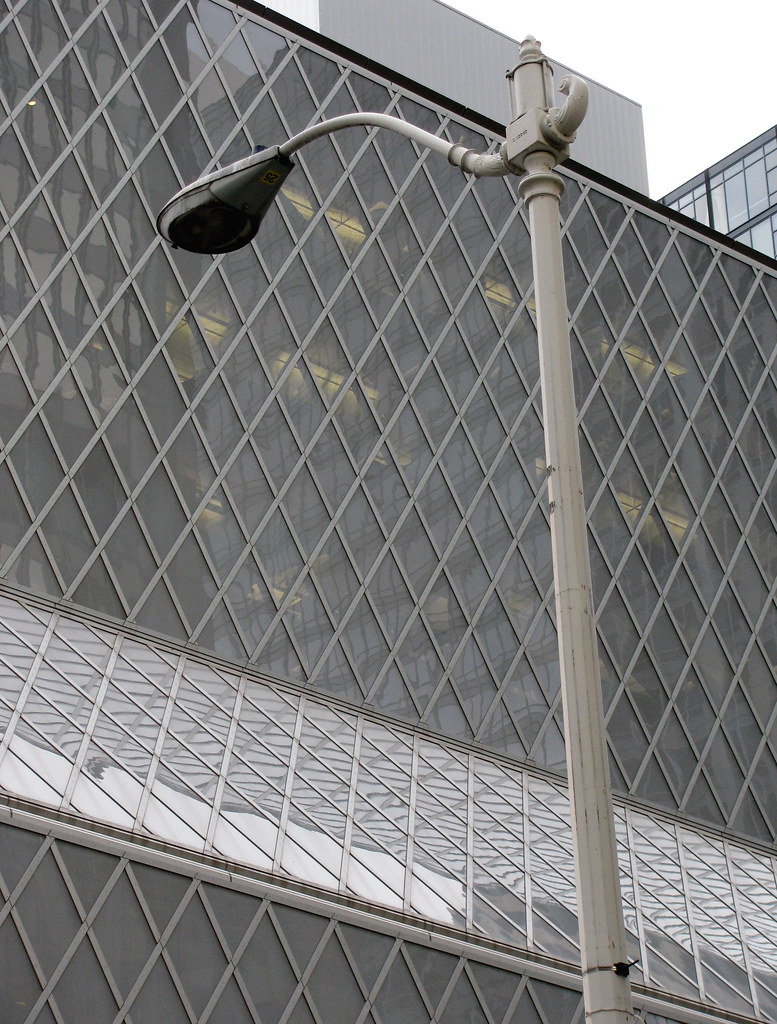
Geometry and Lights
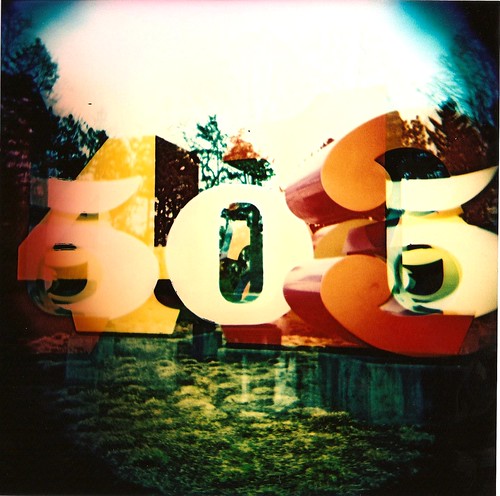
 Observe
A Corner Peeling

Various Stages
Neatly Arrayed
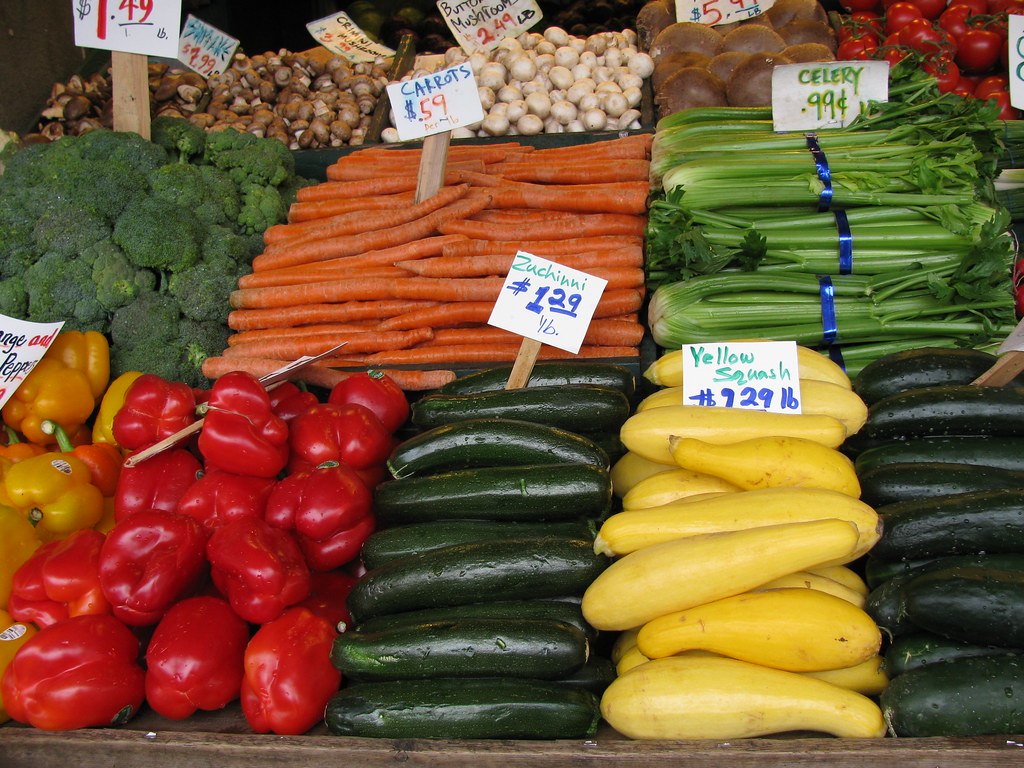
 Arcade Fruits
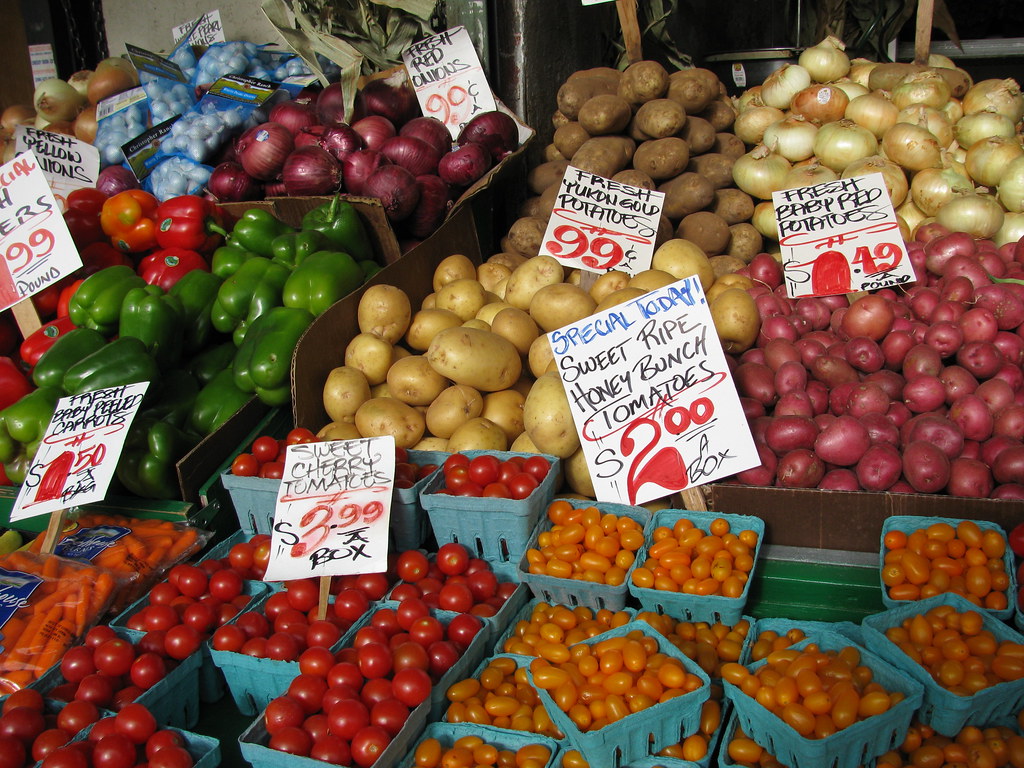
Tasty